![]()
STRETCHING A BEAVER HIDE
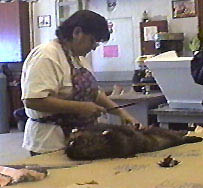 |
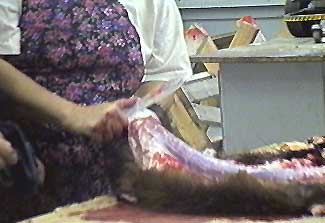
In this photograph, Yvonne Maurice is beginning
the skinning process. If you look closely, you can see that the
beaver has been gutted already.
|
|
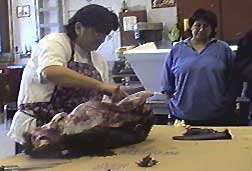
Yvonne continues to cut the skin off of the beaver.
|
 |
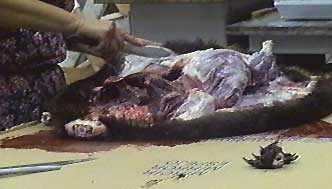 |
Close-up of the beaver as skinning continues.
On the table, the forepaws can be observed, as they had to be removed
before skinning could begin.
|
|
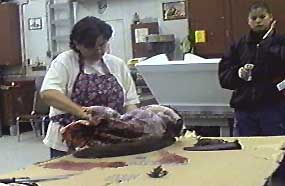
Nearing the end of the skinning process. The beavertail
and rear-paws can be observed on the table as well.
|
 |
 |
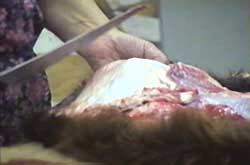
Close-up of the beaver as the skinning process
nears completion. The stump of the tail can be seen and appears
white. The muscles of the back are also visible.
|
|
Carefully cutting the excess flesh off of the
beaver skin.
|
 |
 |
Carefully cutting the excess flesh off of the
beaver skin.
|
|
Close-up of carefully cutting the excess flesh
off of the beaver skin.
|
 |
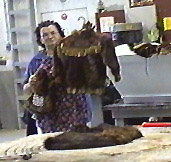 |
Displaying a little coat made from a finished
beaver skin. Also displayed are some beaver skin gloves.
|
|
Arranging the beaver skin on plywood, and describing
the amount of space that it may take. The more space the better.
|
 |
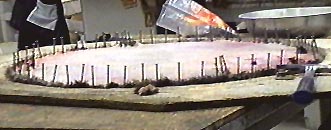 |
The beaver skin after it has been nailed in place,
so that it can be allowed to dry.
|
|
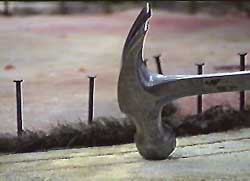
Close-up of hammer and nails, used to keep the
beaver skin stretched while it dries.
|
 |
 |
Displaying the stretched beaver skin.
|